
Nailing The At-Home Manicure
A little gesture of self-care, whether it’s putting on makeup or cleansing my face with an indulgent balm, has always managed to lift my spirits and point the day in a more positive direction.
Today we’re talking about at-home manicures and the tools I use to make the job easier and better looking than ever. Like most things in life, practice makes perfect, so the more you get into the habit of doing your own nails the better you will get at it. Trust me, it used to look like a crime scene every fall when I’d bust out the red nail polish… we’ve come a long way!

Prep, Prep, Prep
There is no rushing when it comes to a proper DIY manicure. You need to carve out an hour or so to get the task done right. I personally like to do this on Sunday afternoons and get a good TV show or YouTube playlist ready to make drying time fly by.
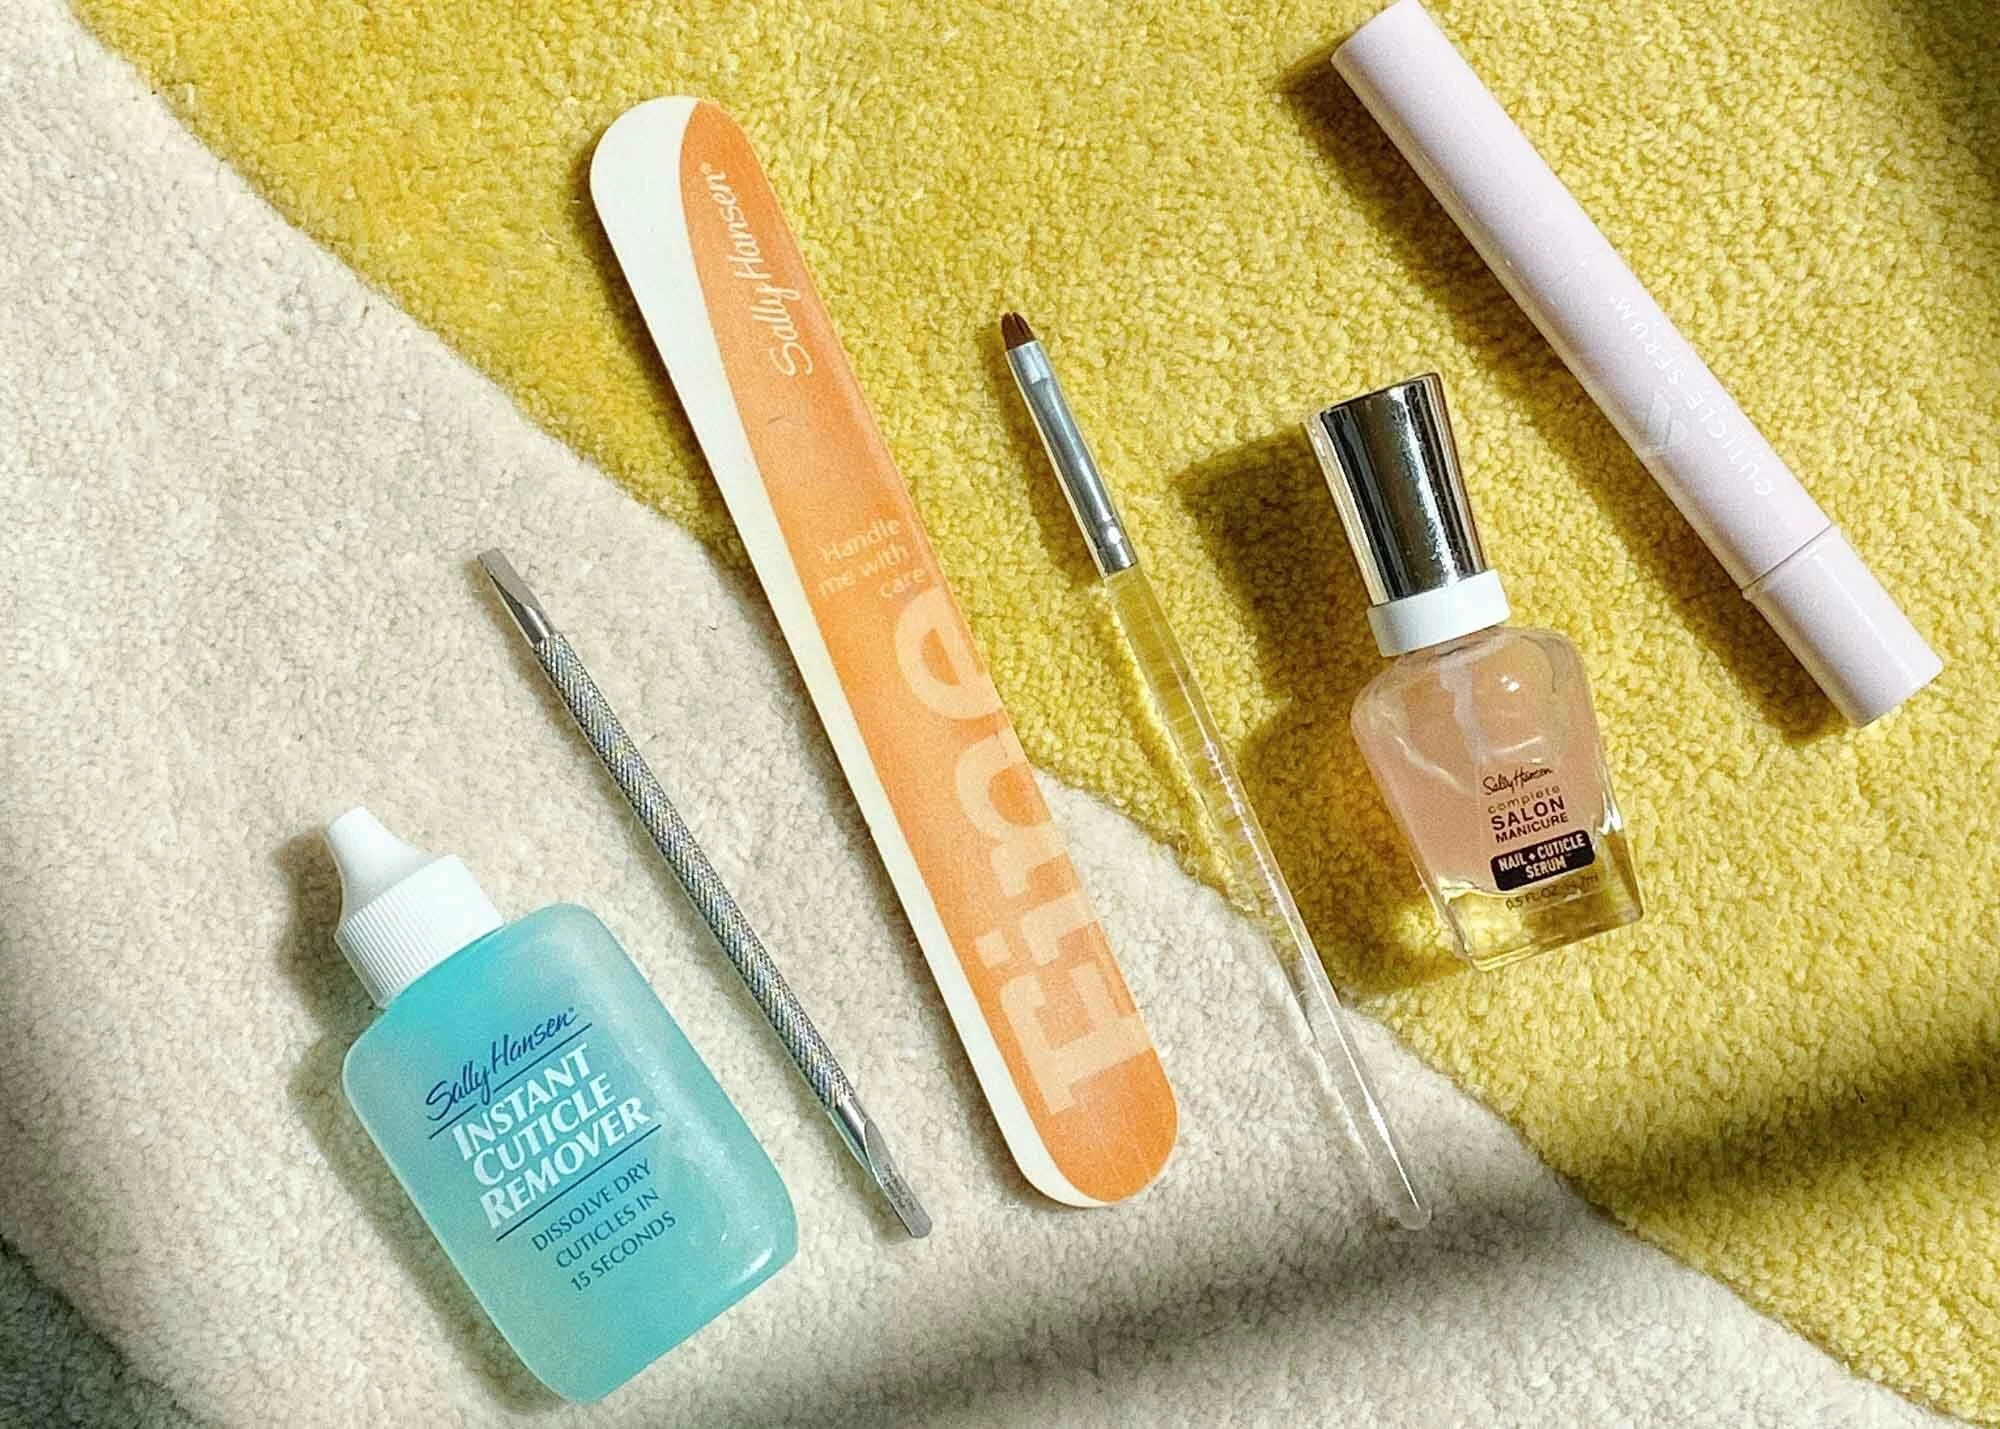
Starting with cleaning the nails of previous polish, I go with acetone because I haven’t tried anything acetone free that worked to my liking. I buy pure acetone from the hardware store.
I then soak my hands in warm soapy water for 5 minutes - this will soften the nails, making them easier to trim as well as making cuticles more manageable.
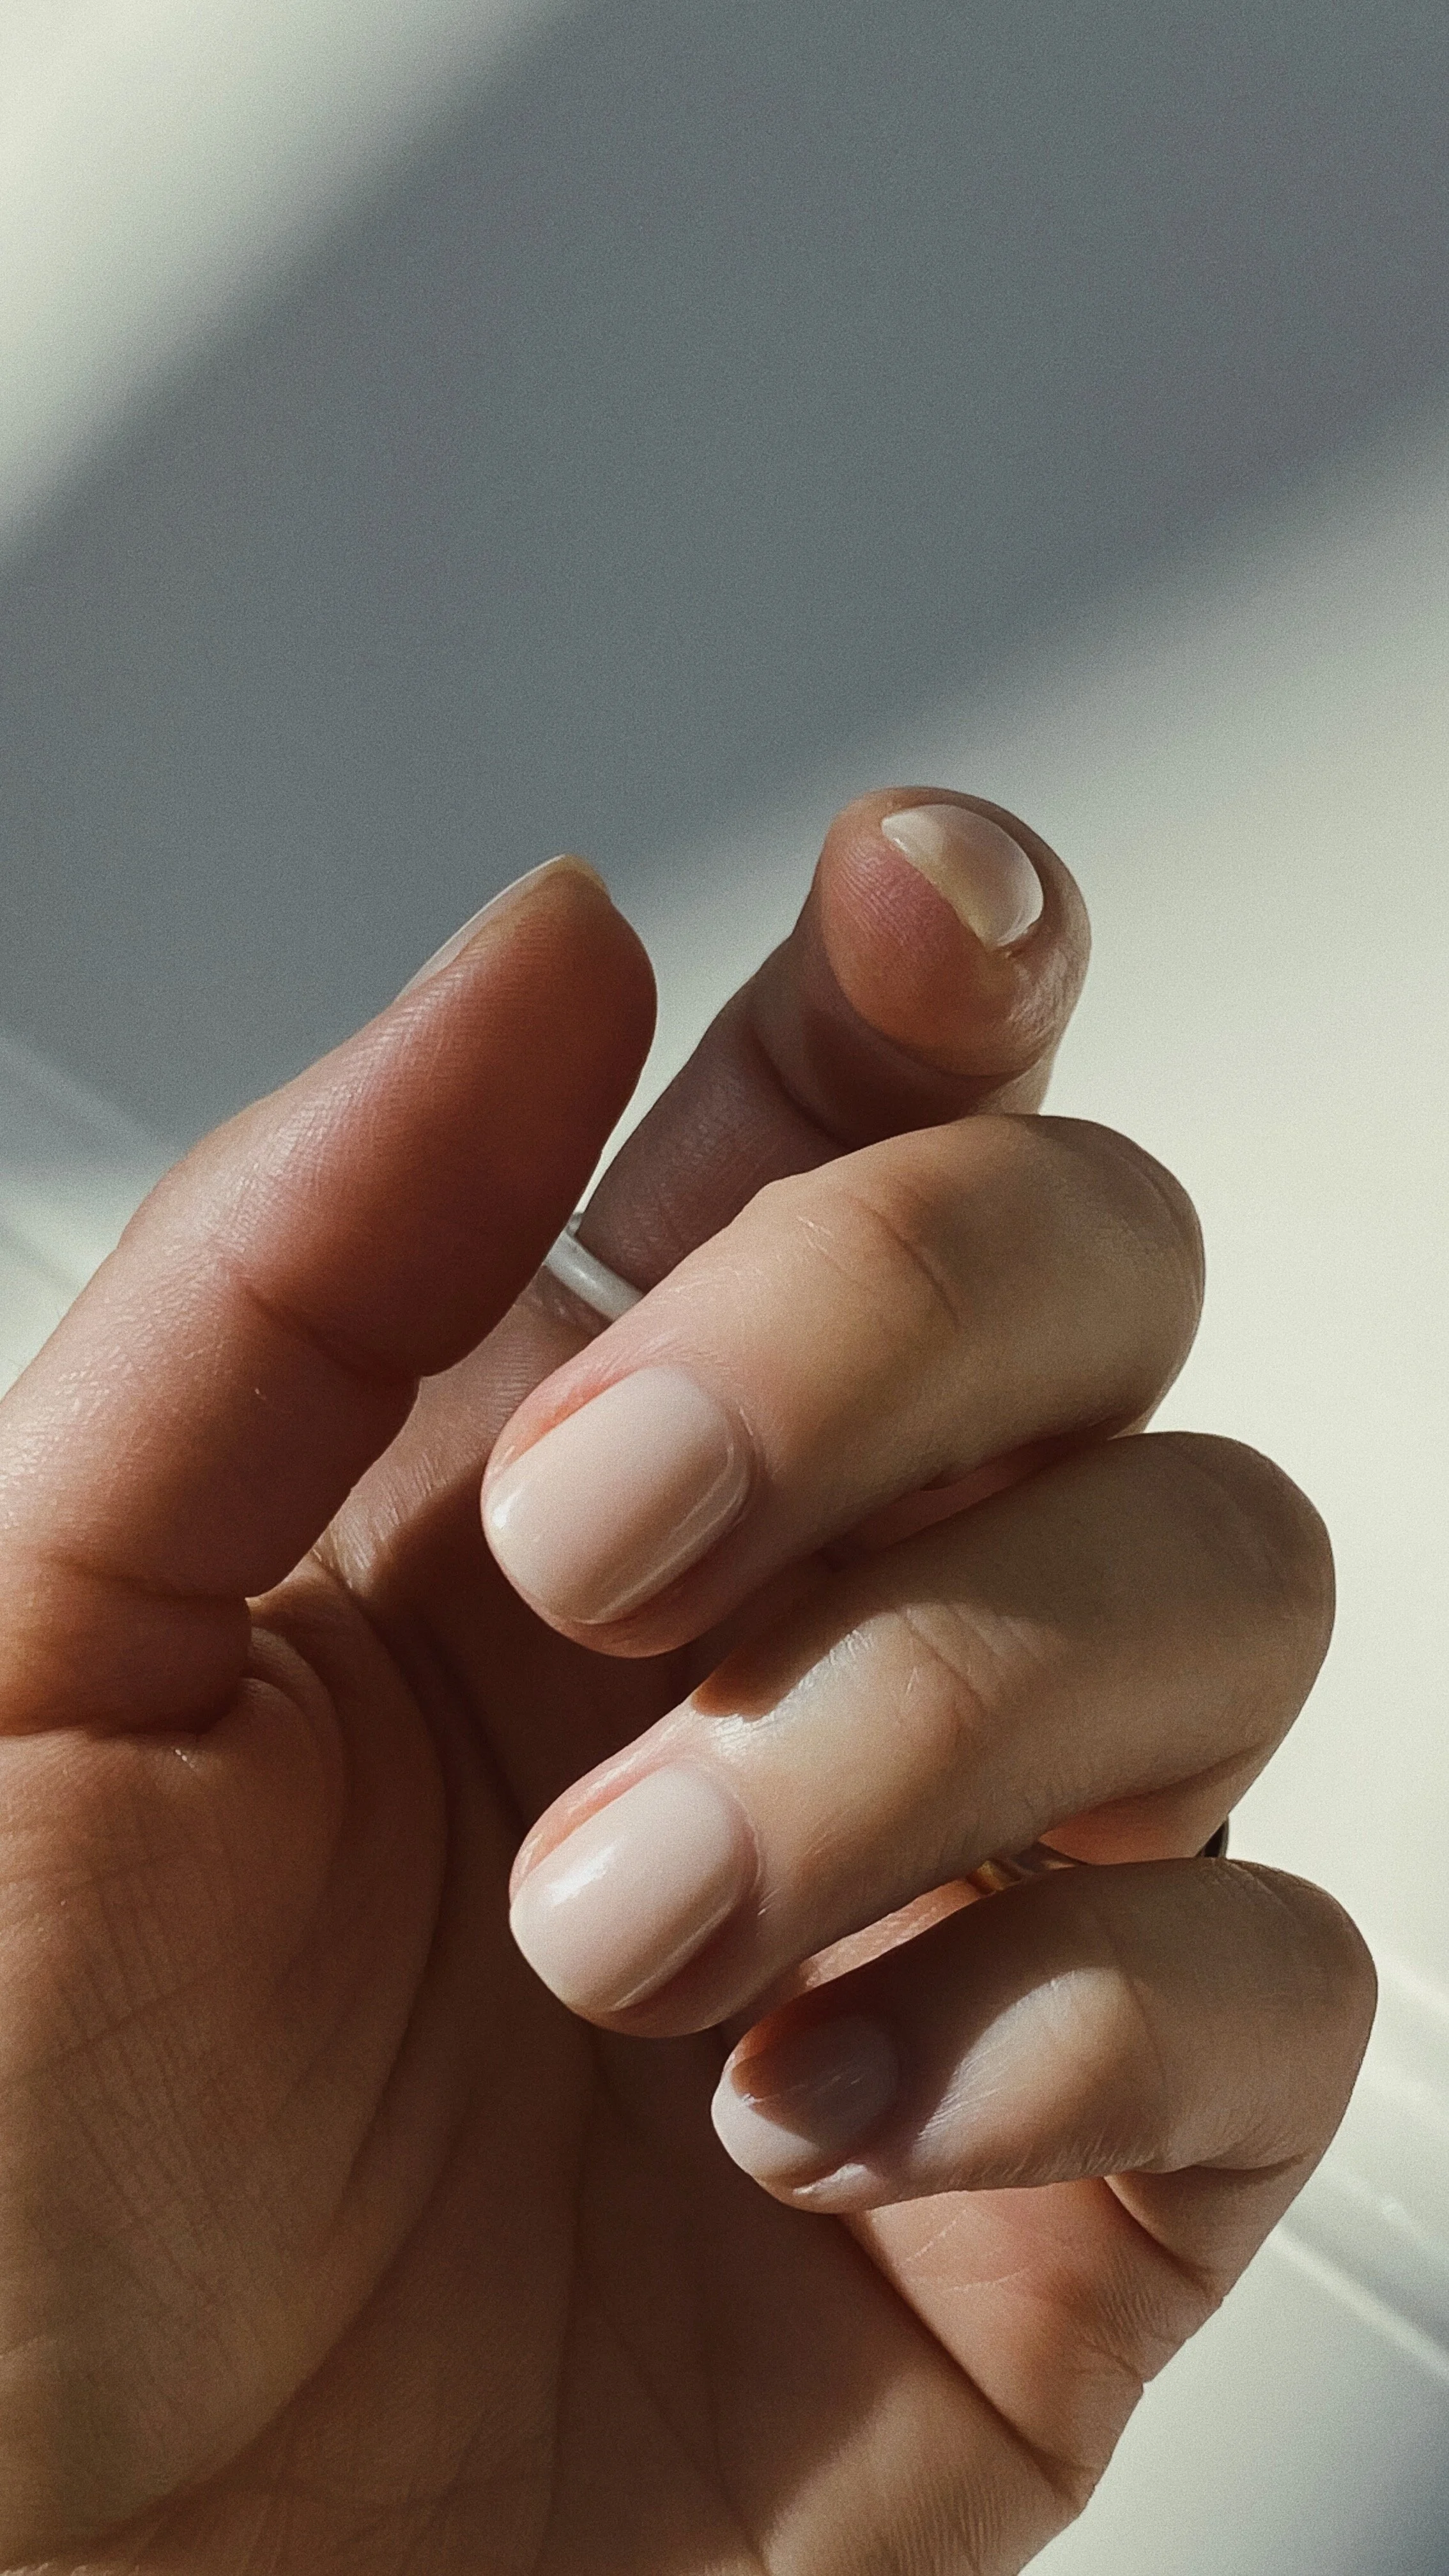
Trim and file nails to the desired length. I use regular nail clippers first to trim the nail to my desired length. In order to perfect the shape, I use a fine-grained nail file by Sally Hansen and use broad strokes, starting from the outer corners of my nails and going inwards. Most of the time I like to keep my nails on the shorter side and shape them in a way that mirrors my nail beds for a natural look.
Cuticle maintenance time! I like to apply Sally Hansen Instant Cuticle Remover $5.98 for about a minute and let it do the hard work for me. This is an acid-rich gel that dissolves dead skin and further helps soften cuticles, making them easier to push back. For pushing them back I love the Tweezerman Pushy and Nail Cleaner $18.00 - it has one end for cuticle pushing and another with a sharper edge to clean up under the nail. I then trim any skin that’s loose with a cuticle nipper (also by Tweezerman).
Before base coat and color application, I like to brush on a thin layer of acetone to ensure my nail surface is totally clean and dry. Otherwise, if there is any oily residue, polish application can get streaky and bubbly. Don’t worry if you paint outside the edges - we will address that later.
For base coat, I have tried a ton that I like, ultimately always going back to OPI Nail Envy $17.95.
I then apply a coat of Olive & June Ridge Filler $13.99 to really get a smooth and perfect canvas. This is an amazing product that makes my nail polish perform better, too.
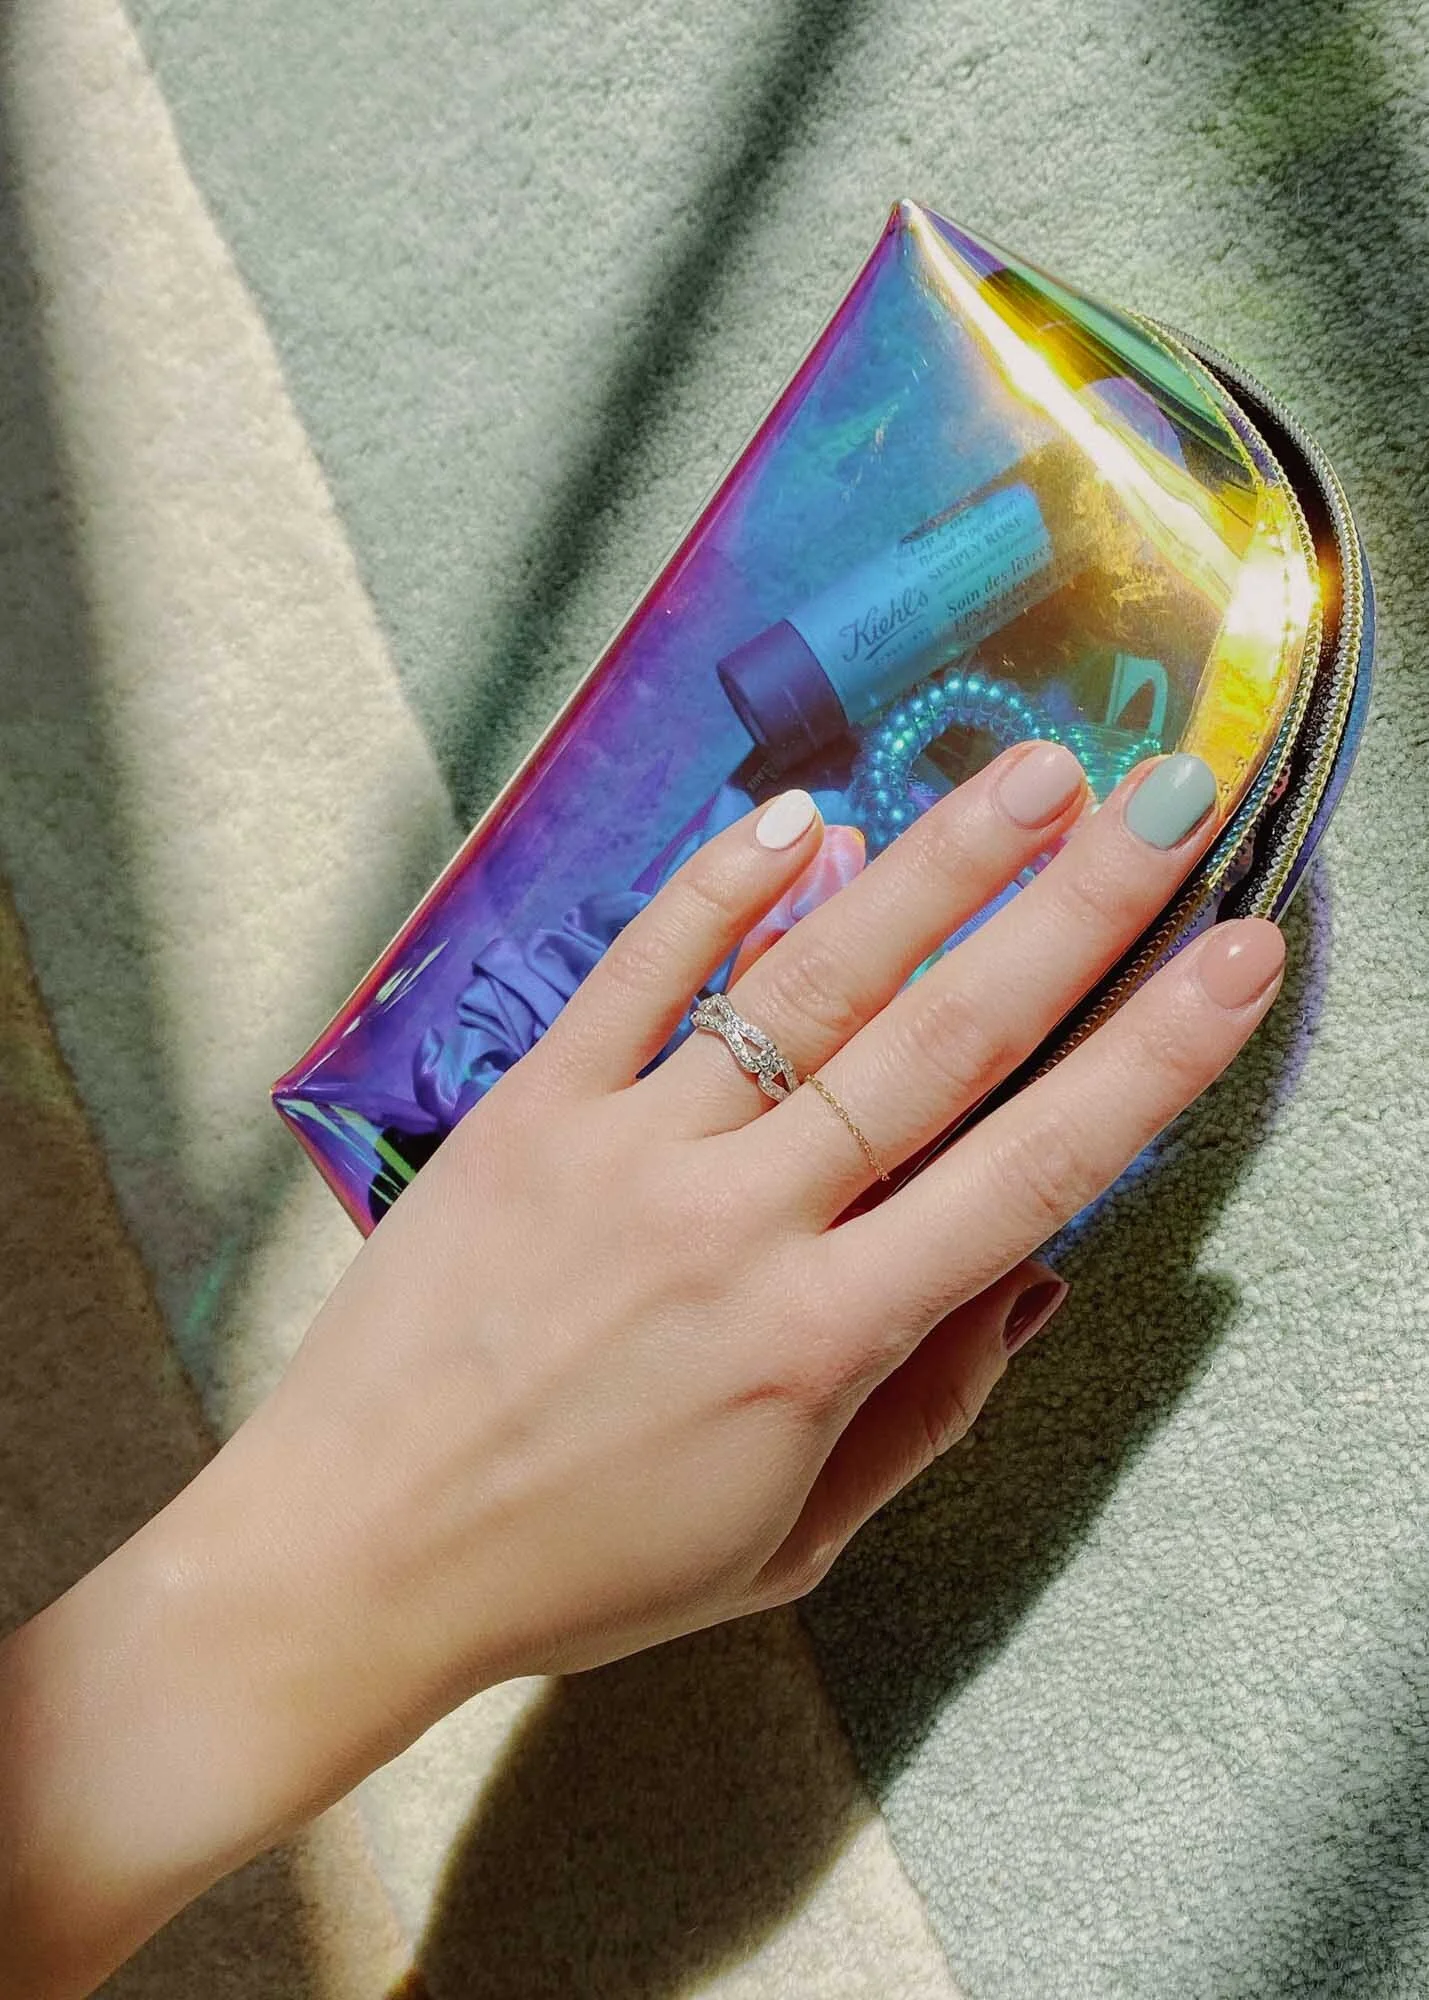
After a couple of coats of color, I follow up with a top coat - again, lots of great options on the market but I am partial to the Essie Gel Couture Top Coat $11.50 or Olive & June’s Super Glossy Top Coat $8.00 for a high shine finish and quick drying time. I wait at least 30 minutes for everything to dry, sometimes 1 hour. This is where having a solid lineup of TV episodes or a YouTube playlist comes in handy. May I suggest The Great British Bake-Off for endless feel-good entertainment?
The next morning, if I wake up and notice any marks from my duvet on the nails, I apply another layer of shiny top coat and it will smooth things over and give me a professional gel manicure look.
Clean-up and Cuticle Care
The Olive & June Clean-Up Brush $8.00 is a great little tool with stiff bristles and it will help clean up the manicure. I dip it in a bit of acetone and carefully run it across any areas where I colored outside the lines. You can do this step either before or after base coat application, I have done it both ways albeit it is a bit easier if you do this step prior to top coat application.
Once the lines are looking clean and sharp, time to moisturize the hands and cuticles. I have been using face oil on my cuticles lately and it’s great. Just a drop massaged on the cuticles of each hand before bed has kept them in top shape.
For hand cream, I love the Clarins Hand & Nail Treatment Cream $30.00. For cuticle maintenance during the day, I like cuticle serums because they sink in quickly and are less messy. The Olive & June Cuticle Serum $16.00 is a great on-the-go option due to its sleek tube packaging and sponge tip applicator. Moisturized hands and cuticles are key to achieving that professional manicure look. Before bed every night, I like to apply hand cream and a little bit of oil on my cuticles - I don’t use a specific cuticle oil for this, I usually use whatever face oil or body oil I have on hand and it does the trick.
Need a video with more manicure tips? This at-home nail routine video by Matilda, one of my favorite beauty bloggers, is visually pleasing and super informative.